Safety Information
At least two (2) individuals are required to install warehouse pallet racking.
The racking needs to be installed on a flat and secure surface. Not a soft texture such as
bitumen or
tarmac.
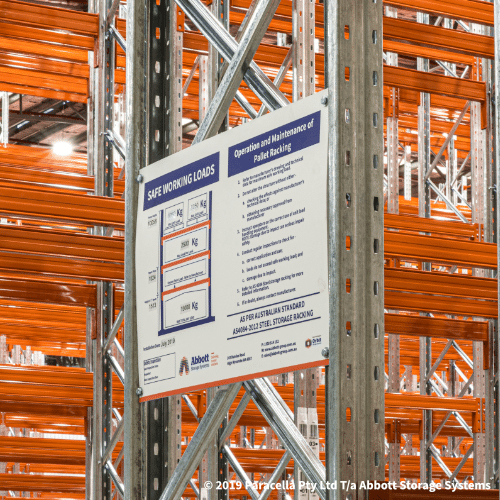
Use the
Safe Working Load sign for the load limits of the racking.